 zakaz@net-server.com.ua
Proper installation of a 19-inch server cabinet starts not with installing equipment, but with assembling the enclosure, checking the mounting rails, doors, side panels, and preparing space for cables. The quality of the installation affects how convenient it will be to maintain switches, patch panels, servers, UPS units, and other network equipment later.
Cabinet designs may differ from one model to another, so it is always recommended to review the manufacturer’s instructions before assembly. However, the general installation process is similar for most 19-inch server and telecom cabinets.
What You Need to Install a Server Cabinet
For basic server cabinet assembly, standard hand tools are usually sufficient. Some mounting components may already be installed or factory-fitted.
- a Phillips screwdriver or another screwdriver suitable for the supplied fasteners;
- a wrench or socket, if required by the cabinet design;
- a level to check correct positioning;
- wall or floor mounting hardware, if required;
- protective gloves for working with metal components;
- the mounting kit supplied with the cabinet.
Before assembly, lay out all components and make sure the package includes the side panels, top and bottom sections, doors, rear panel, mounting rails, cross members, and all necessary fasteners.
Step 1. Assemble the Server Cabinet Frame
Start by installing the side elements of the cabinet. Insert the first side panel into the appropriate mounting slots or openings in the lower section of the cabinet. Then install the second side in the same way.
Once both sides are in position, secure them with the supplied bolts. At this stage, it is not necessary to fully tighten all fasteners immediately. First make sure the cabinet frame is aligned correctly and that all parts are properly seated.
After the side sections are installed, fit the top panel. Tighten the bolts evenly to avoid twisting or distorting the cabinet frame.

Step 2. Install the Rear Panel
Once the main frame has been assembled, the rear panel can be installed. Depending on the cabinet model, the rear panel may be removable, secured with bolts, or fitted with a lock.
Install the rear panel evenly and secure it at all mounting points specified by the manufacturer. It is not recommended to leave any fasteners loose or missing, as they may affect the rigidity of the cabinet.
Step 3. Install the Server Cabinet Door
Before installing the door, check the hinges, latches, and other mounting components. On many cabinet models, the doors already have factory-installed locking pins or retainers, so they only need to be inserted into the corresponding mounting points.
Server cabinet doors may be glass, metal, or perforated. After installation, check that the door opens and closes freely, is properly aligned, and that the lock works correctly.
If the cabinet design allows the opening direction to be changed, it is better to choose the required side before installing the equipment.
Step 4. Install the 19-Inch Mounting Rails
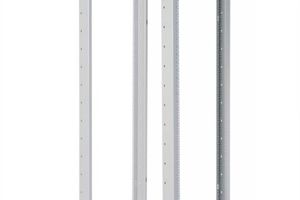
Mounting rails are installed inside the cabinet and are used to secure 19-inch rack equipment. On some models, the front and rear rails can be adjusted in depth.
Before fixing the rails in their final position, determine what equipment will be installed in the cabinet. This is especially important for servers, UPS units, deep network switches, and rack shelves.
Leave enough space between the rear of the equipment and the back of the cabinet for:
- power cables;
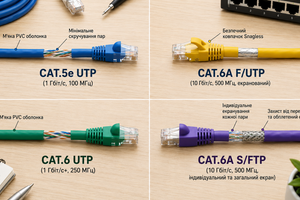
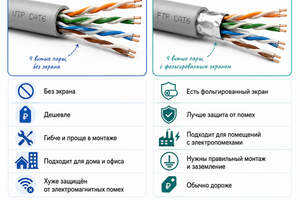
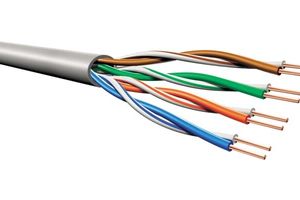
- network cables;
- fiber optic patch cords;
- power connectors;
- proper cable bend radius;
- air circulation.
Step 5. Check Cabinet Alignment
Before installing active equipment, make sure the cabinet frame is not twisted or misaligned. The doors should fit the frame evenly, and the mounting rails should be parallel.
If the cabinet is not level, the issue may become more noticeable once heavy equipment is installed. It is therefore better to correct the alignment during the assembly stage.
Wall-Mounted or Floor-Standing Installation
The installation method depends on the cabinet design.
Wall-Mounted Server Cabinets
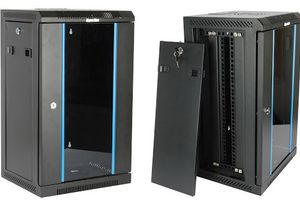
Wall-mounted 19-inch cabinets are commonly used for switches, patch panels, routers, small UPS units, and other network equipment. These cabinets must be mounted to a surface capable of supporting the weight of the cabinet together with all installed equipment.
The type of anchors or mounting hardware should be selected according to the wall material and the cabinet manufacturer’s recommendations. Before installation, also make sure there is convenient access to the doors, cables, and ventilation openings.
Floor-Standing Server Cabinets
Floor-standing server cabinets are used for larger systems and heavier equipment. After placing the cabinet, level it using the adjustable feet or other leveling elements provided by the design.
If the cabinet is equipped with casters, make sure that it remains stable after final positioning and cannot move while equipment is being connected or serviced.
How to Arrange Equipment Inside a Server Cabinet
Once the enclosure is assembled, you can start installing equipment. Heavy devices are generally mounted lower in the cabinet, while lighter equipment is installed higher. This helps improve overall stability.
Before installation, it is useful to create an approximate rack-unit layout for the equipment.
A server cabinet may contain:
- patch panels;
- network switches;
- routers;
- servers;
- UPS units;
- 19-inch rack shelves;
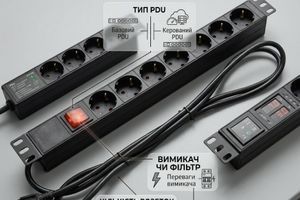
- PDU power distribution units;
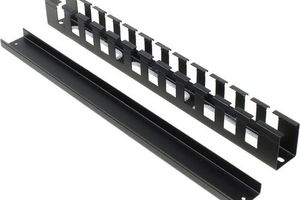
- cable managers;
- ventilation modules.
It is recommended to leave some free rack space for future network expansion and additional equipment.
Cable Management
Cables should be routed so that they do not block airflow or make access to active equipment difficult. Horizontal and vertical cable managers, reusable hook-and-loop straps, and other cable management accessories can be used for this purpose.
Power and data cables should be routed in an organized way so that individual devices can be disconnected or replaced without having to dismantle the entire cable system.
Server Cabinet Ventilation
Active network and server equipment generates heat during operation. Therefore, it is important not to block ventilation openings and to leave enough space for proper airflow inside the cabinet.
Ventilation modules or fans can be added when necessary. This is especially important for enclosed server cabinets with a large amount of active equipment.
Grounding and Power Distribution
Metal parts of the server cabinet should be used in accordance with the manufacturer’s protective grounding requirements. Power distribution, PDU installation, and grounding should be carried out in accordance with electrical safety rules.
If you do not have the appropriate experience with electrical equipment, this work should be performed by a qualified specialist.
What to Check After Installation
Before installing all equipment, perform a final inspection:
- all bolts and connections are securely tightened;
- the cabinet is level and not twisted;
- the doors open and close freely;
- the side and rear panels are securely fixed;
- the mounting rails are parallel;
- enough space has been left for cables;
- ventilation openings are not blocked;
- there is sufficient access for equipment maintenance.
Frequently Asked Questions
Is It Difficult to Assemble a Server Cabinet Yourself?
Most flat-pack server cabinets have a relatively simple design. Standard hand tools are usually sufficient for basic assembly. However, the installation process may vary depending on the specific model.
What Should Be Installed First — the Cabinet or the Equipment?
The cabinet should first be fully assembled, leveled, and securely installed. Only after that should shelves, PDUs, patch panels, switches, servers, and other equipment be mounted.
At What Height Should a Wall-Mounted Server Cabinet Be Installed?
The installation height depends on the room and maintenance requirements. The cabinet should be positioned so that the equipment, cables, and doors remain easily accessible.
Should I Leave Free Rack Units?
Yes. Leaving spare rack space is useful for future network expansion, additional equipment, and ventilation.
Which Is Better — a Wall-Mounted or Floor-Standing Server Cabinet?
A wall-mounted cabinet is often sufficient for a small network with a switch, patch panel, and router. A floor-standing cabinet is usually better for servers, large UPS systems, or installations with a significant amount of equipment.
Tip: before choosing and installing a cabinet, browse the server cabinets catalog and determine the required rack height in U, cabinet depth, installation type, and the amount of equipment you plan to install.